
I have had a runner rolled up in the closet for 11 months. This implies a sad backstory, and it is true, there is a sad backstory. Here is a picture of the grim day, 1 year ago, when my project failed:

I wanted a runner on my stairs, but did not want to spend the money on a proper runner and rushed into it. I nailed thin cotton runners to the stairs before I knew what I was doing, and it did not work. The material was too thin and it would not stay put and after pulling up the failed runner, I had large holes in the staircase.
I bit the bullet and ordered a custom runner, made of a black and natural sisal weave with a sturdy backing, from Will’s Home Decorating. It ended up costing about $600 and took a long time for me to get it.

By the time I got it, I felt defeated and did not want to try to install it on my own. I had done a bit of research and found this helpful tutorial from This Old House, but I was not ready to tackle the project. Hence the 11 months it has sat in my closet.
Until recently, when my friend told me that Young House Love had just posted on stair runners. My first thought was, “I hate them! They are so industrious! Why do they always beat me to it?” Uncharitable thoughts I know. Of course, my carpet was still in the closet, so that should have been the first clue as to why they are more successful bloggers than I.
I actually read their post (found here) and it was quite helpful. They went through the steps more thoroughly and I was inspired to try again. With only two trips to the hardware store, I did it. All By Myself.

At times, the oak staircase seemed to laugh at me, practically repelling the staples as I was trying to drive them in. Next time I install a runner, please let it be a pinewood staircase instead of oak. Oh man.

Materials:
one carpet runner (Choose carefully as this will make or break your project.)
3 2×8 grip pads
electric or pneumatic staple gun (Use caution as you could shoot your eye out with this thing. I purchased mine from Home Depot. It was a PowerShot Pro and cost $27.46.)
eye protection
staples– this depends on how bulky your runner and padding are. I used ½” staples which were long enough to grip and go in, but not so long that I was not able to drive them into the oak at all.
Tape Measure
Black Sharpie
Blue Tape
Hammer
Ibuprofen (For the day after.)
How-To:
Measure the height of each riser and the depth of each tread. Add this together to get the length of carpet needed and multiply times the number of stairs. Add an extra foot of length for overlapping any seams.
My stairs get wider at the bottom, so I had to center the runner at the narrowest point. I marked the lines with tape where the rug would go, and made sure it looked straight.

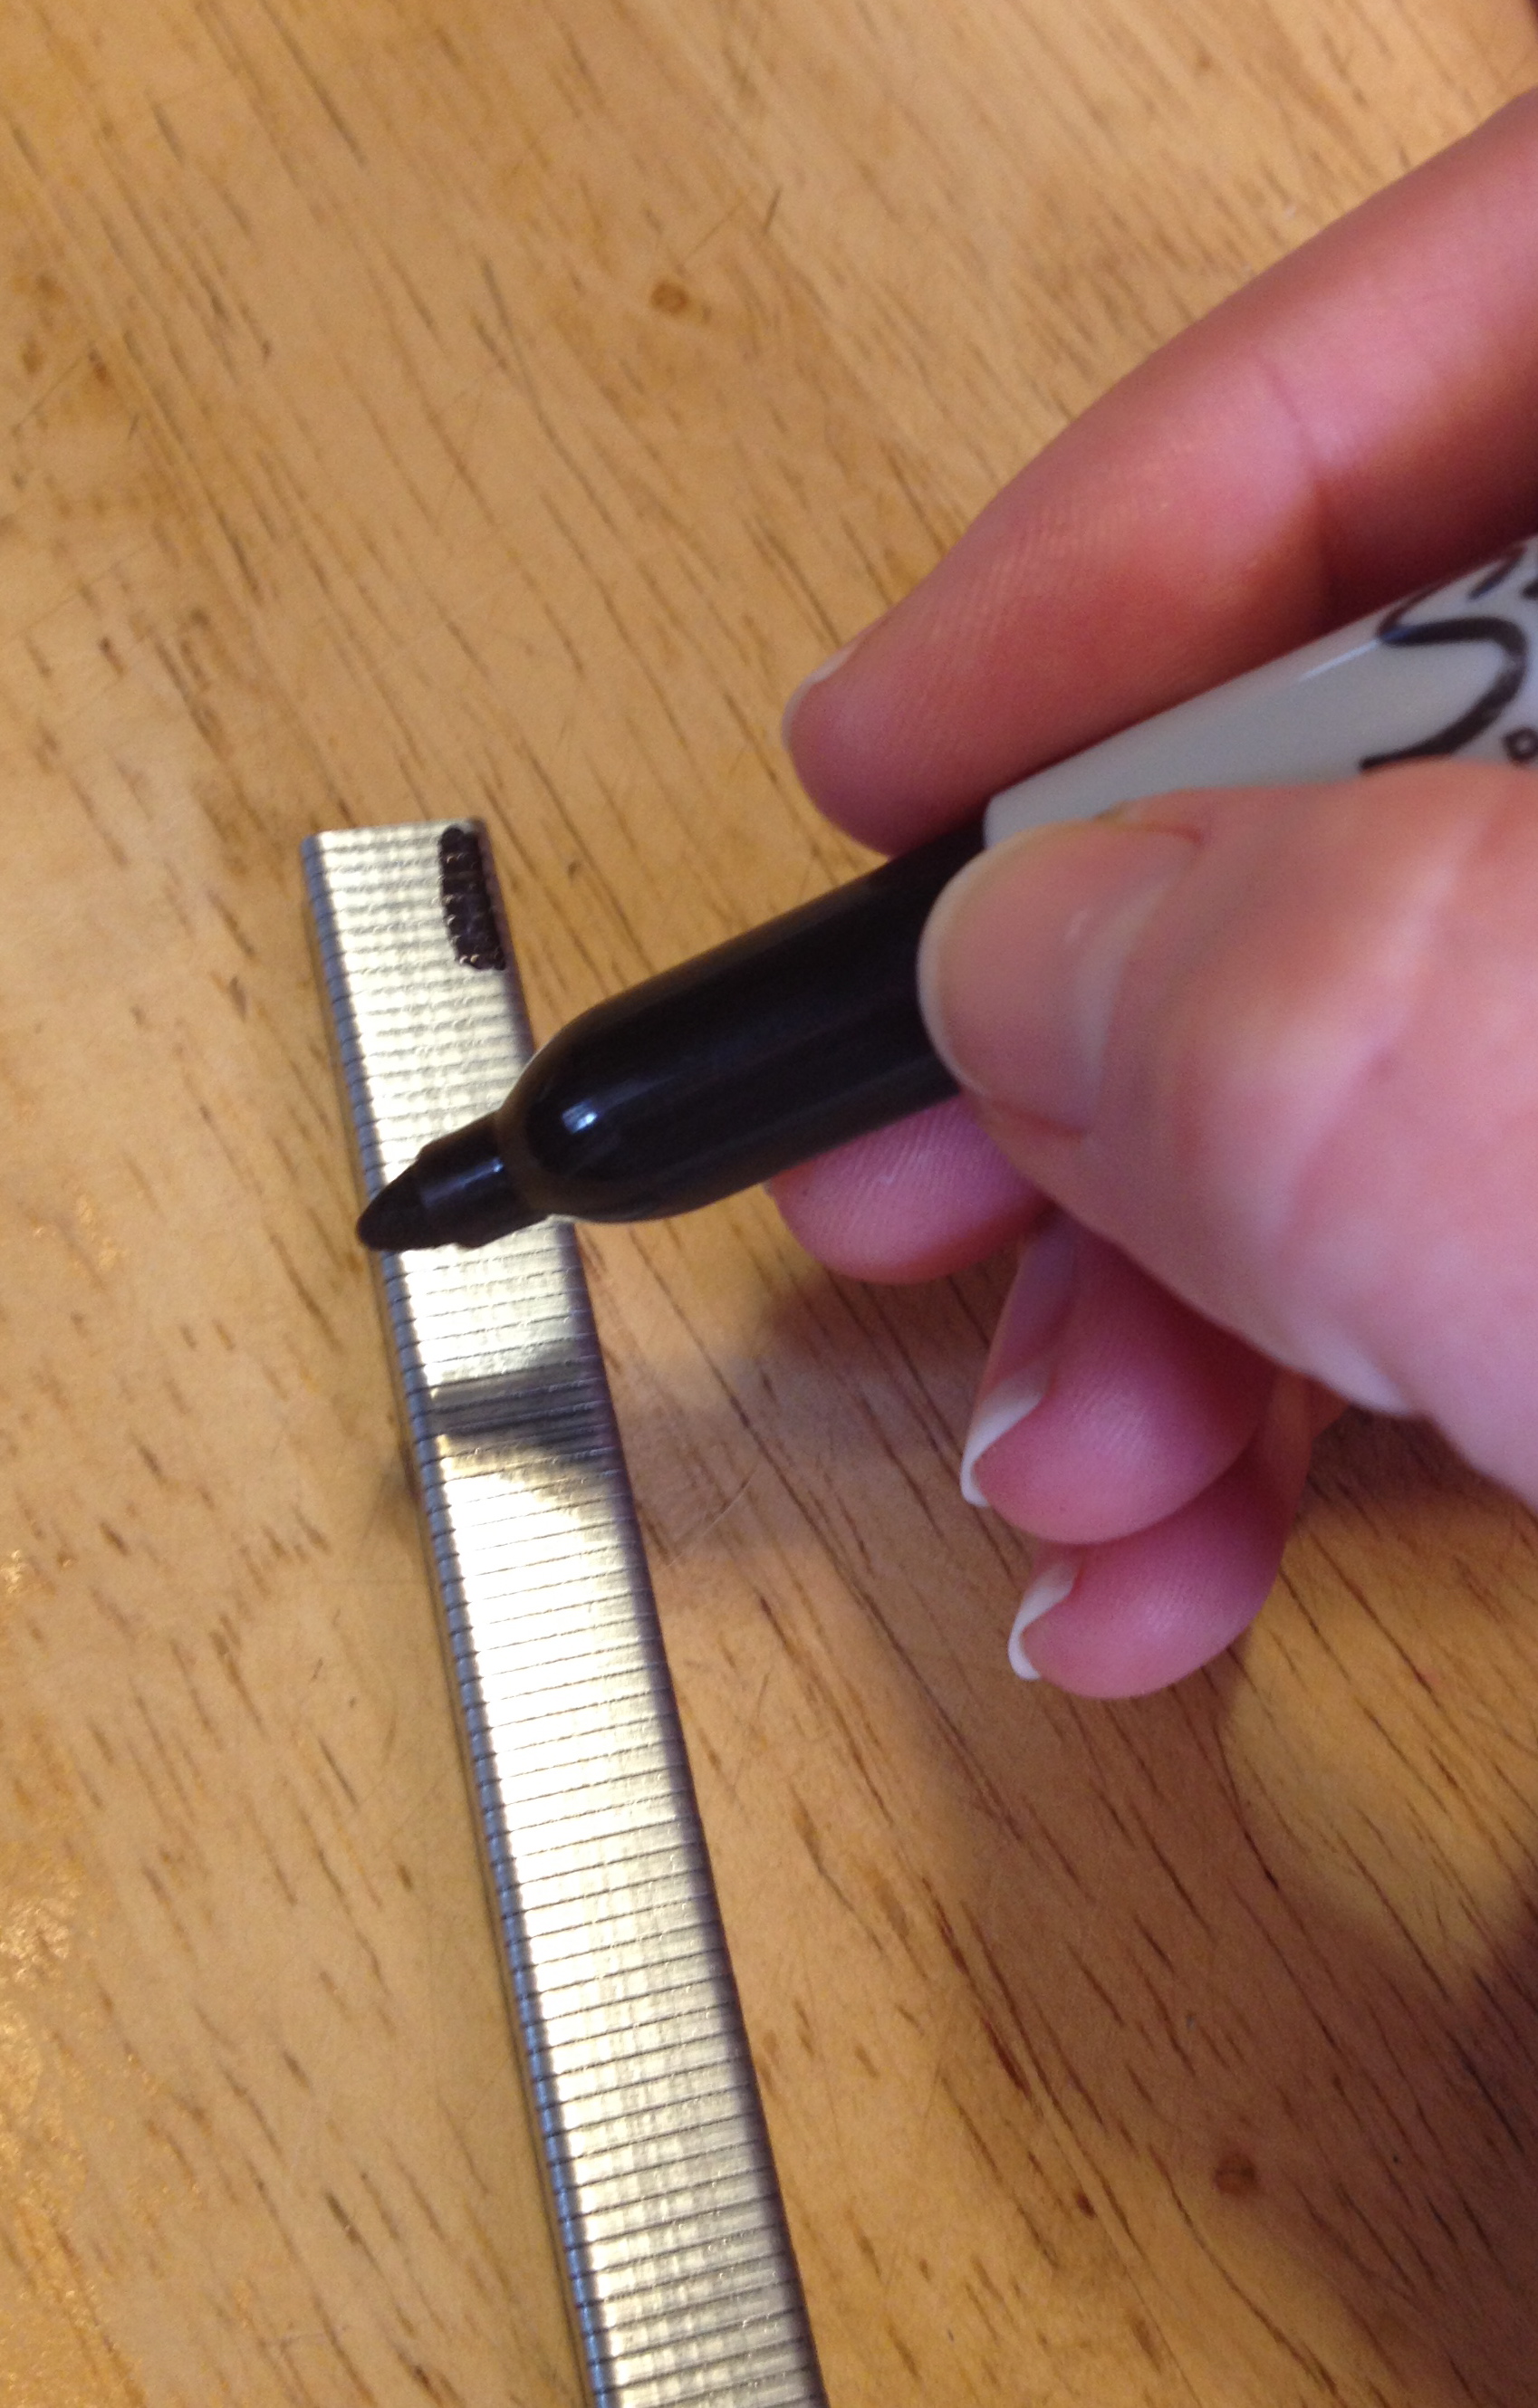
Cut the grip pads into sections and color the staples with Black Sharpie. A genius idea by the Young House Love team.

I started at the bottom of the staircase and stapled the runner on the riser and under the bull-nose. I did not staple the treads, except at the very back, as close to the riser as possible, to secure the rug. I had to put some muscle into it and briefly wished Stuart was not at work.

My runner was in two pieces, so there is a seam. I lined up the second piece under the first piece and stapled it down. I then trimmed the first piece of carpet with scissors so it would end just under the bull-nose and stapled it over the second piece. This made the seam less obvious. I then continued up the stairs with the second piece of carpet. At the top, I trimmed the carpet just under the bull-nose of the top step and stapled it in place.

I was able to finish in an afternoon. Today I am taking Ibuprofen and trying not to walk past the staircase every 5 minutes to admire my handy work.

It feels good. It feels sturdy. The decibel level of the children going up and down has dimmed to a quiet thumping. I only wish I had not waited 11 months to install it.
©copyright 2013 Mariam d’Eustachio at Simply Turquoise.

14 responses to “How To Install A Stair Runner”
This is great, thanks! this is the next item on my ever growing to-do list and I hadn’t put too much thought into it. I am sure it would have been all zig zaggy 🙂
Thanks so much for sharing!
LikeLike
If I can do it, you can do it too! Send a pic when you’re done!
LikeLike
Thanks for the motivating words. I still have to pull up the old carpet, prime and paint the stairs white and then I can add the runner. I will be posting it on my blog soon 🙂
LikeLike
I helped too Mom!
LikeLike
True, you did babysit for at least 10 minutes.
LikeLike
I have a pine staircase!
LikeLike
I love the look of the runner, and I’d like to have the same look in our farmhouse. I am worried about the durability of seagrass on the stairs. Any thoughts about that?
LikeLike
Hi Gail, thanks for stopping by. It looks just as good as the day I installed it. I have 3 kids and a dog and the sisal has held up well. It was a little over two years ago.
LikeLike
Hi Mariam, I’m poised to do this on Saturday! Very excited/nervous. Just wondering about the carpet grip pads are totally necessary. I have a sisal rug with a decent rubber coating. It’s going on a varnished pine staircase. Thanks! Marley.
LikeLike
Congratulations! This is exciting and I hope you are able to send some pictures of your finished project. I would go ahead and use the pads- they are not bulky (I used the carpet grips with the holes, not felt) and they add enough cushion to dampen the sound of feet running up and down. They might also help protect the finish on your stairs where the rubber might stick to it over time. But of course whatever you decide, please let us know how it turns out.
LikeLike
Hi Mariam
Here’s a picture or two of our sisal runner – it’s only been a few weeks but so far so sturdy! Thanks again for providing such a useful DIY guide.
Best, Marley
Marley Zelinková Smith 203 Annandale Street, Annandale NSW 2038 AUSTRALIA +61 (0)421 016 549
LikeLike
(Sorry, pressed send too soon. Wondering IF the pads are necessary.)
LikeLike
Your runner looks great, but I feel like I still don’t know what to do after reading this tutorial. Especially with regards to the grip pads. Are they needed? Why? How did you attach them? Do they need to wrap around the stair nose? Why colour the staples black?
LikeLike
Hi Kathryn- thanks for stopping by my site. I colored the staples black because my rug was a black and natural weave and so the staples would not show. The grip pads were cut for each step and wrapped over the bullnose. The reason I used the grip pads was to protect the wood, add some cushioning for both padding and to dampen the sound. I didn’t do anything extra to attach the grip pads, just stapled through the carpet and the pad together. I hope this helps and good luck with your project!
LikeLike